


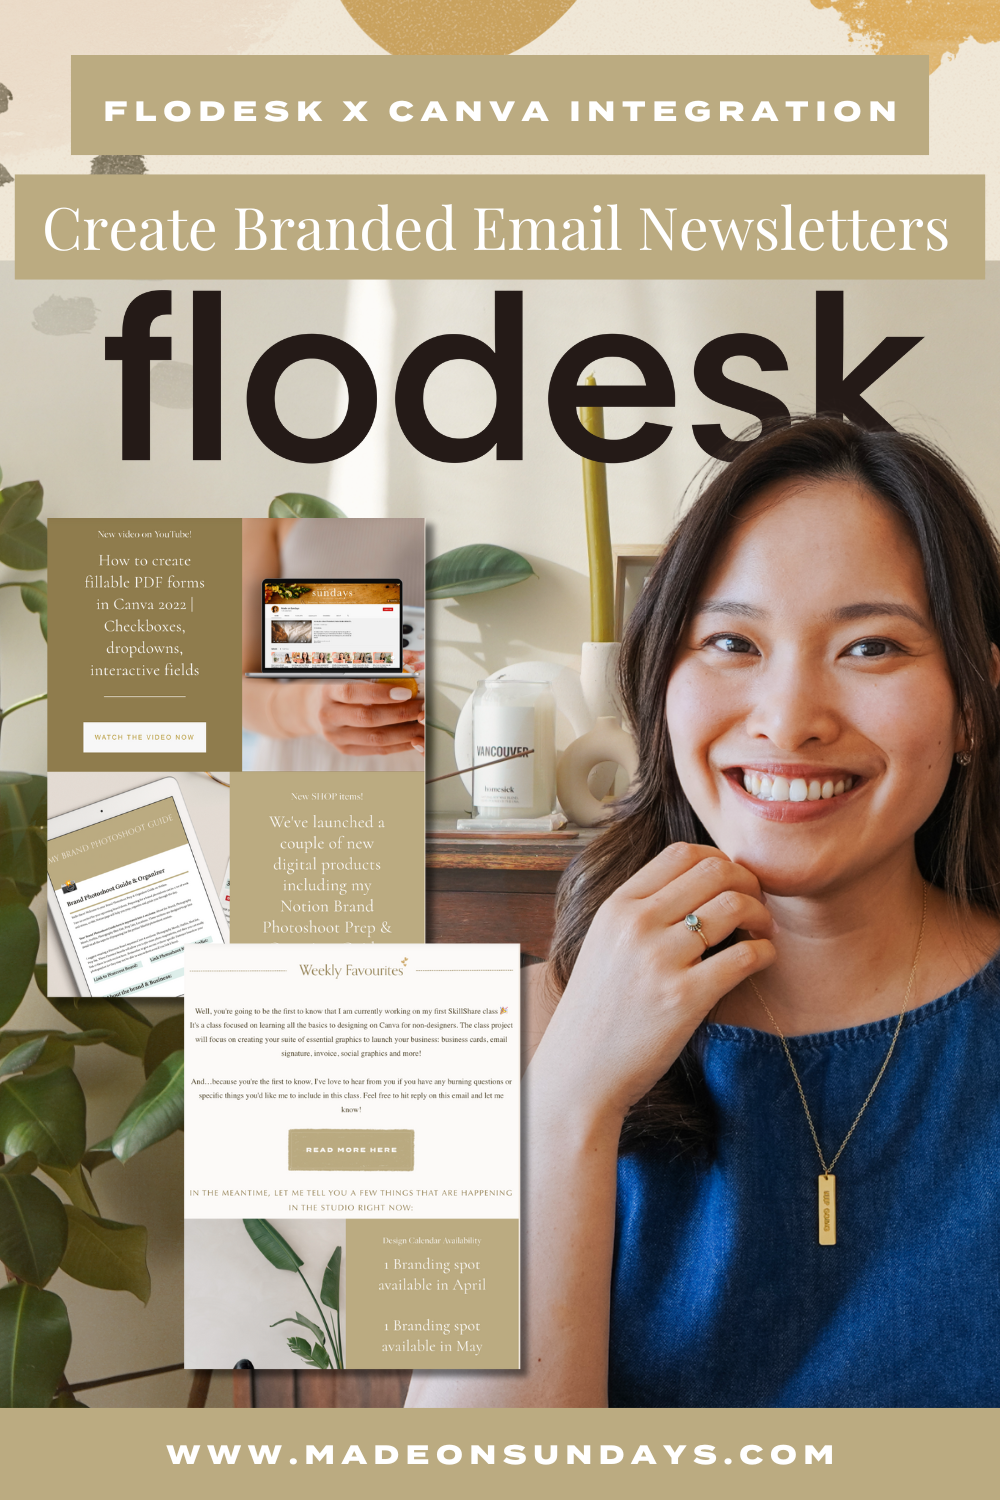
Flodesk Canva Integration: Create Branded Email Newsletters
You sit down to write a newsletter, but end up wrestling with your email marketing platform for hours because it just doesn’t look the way you want it to, and then you don’t even want to send this email anymore.
As a creative, I’ve BEEN there, but the Flodesk Canva integration changes all of that by letting you pull your favorite Canva designs directly into your emails.
When I found Flodesk, I was already impressed by how it makes designing beautiful emails so much easier, but this integration takes things to the next level!
In this tutorial, I’ll show you how to use the Flodesk Canva integration to add your Canva designs directly in your Flodesk editor. We’ll cover custom buttons, headers, dividers, and custom mockups! 😍
| → As a creative entrepreneur, Flodesk is my go-to platform for email marketing. I walk you through creating your 4-part email system on my course, Flodesk Made: Design & Launch Your Email Marketing System, covering everything from opt-in forms and lead magnet delivery to welcome sequences and branded newsletter templates. |
| → Ready to send stunning emails that convert? Start your free Flodesk trial today and get 25% off your first year → https://partners.flodesk.com/canva |
What Is the Flodesk Canva Integration?
The new Flodesk Canva integration makes it super simple to bring your Canva designs into your email campaigns.
Instead of downloading images from Canva and then uploading them to Flodesk (which honestly can get tedious), you can now browse and insert your Canva creations right from within the Flodesk editor!
This means you can use all those beautiful templates, custom graphics, and branded elements you’ve already created in Canva without the back-and-forth between platforms.
To use this new integration, you’ll simply need:
- Flodesk account
- Canva account
- Activate the Canva integration in your Flodesk account (Account Settings → Integrations)
If you don’t have Flodesk yet, you can use my link to get 25% off your first year! 💌
How to Use the Flodesk Canva Integration
Now let’s dive into using this integration! We’re going to create three different elements that’ll make your emails look more polished and on-brand:
- Button
- Divider/Section Header
- Mockup
I’ll walk you through the entire process below. If you’re more of a visual learner, follow along with my YouTube Video ⬇️
Creating a Button
When designing your email in Flodesk, you’ll notice that there is already an option to add a button and style it within the built-in editor. But sometimes you want something totally custom that fits your exact vision!
This is where the Canva integration comes into play. Here’s how to use it to create a custom button:
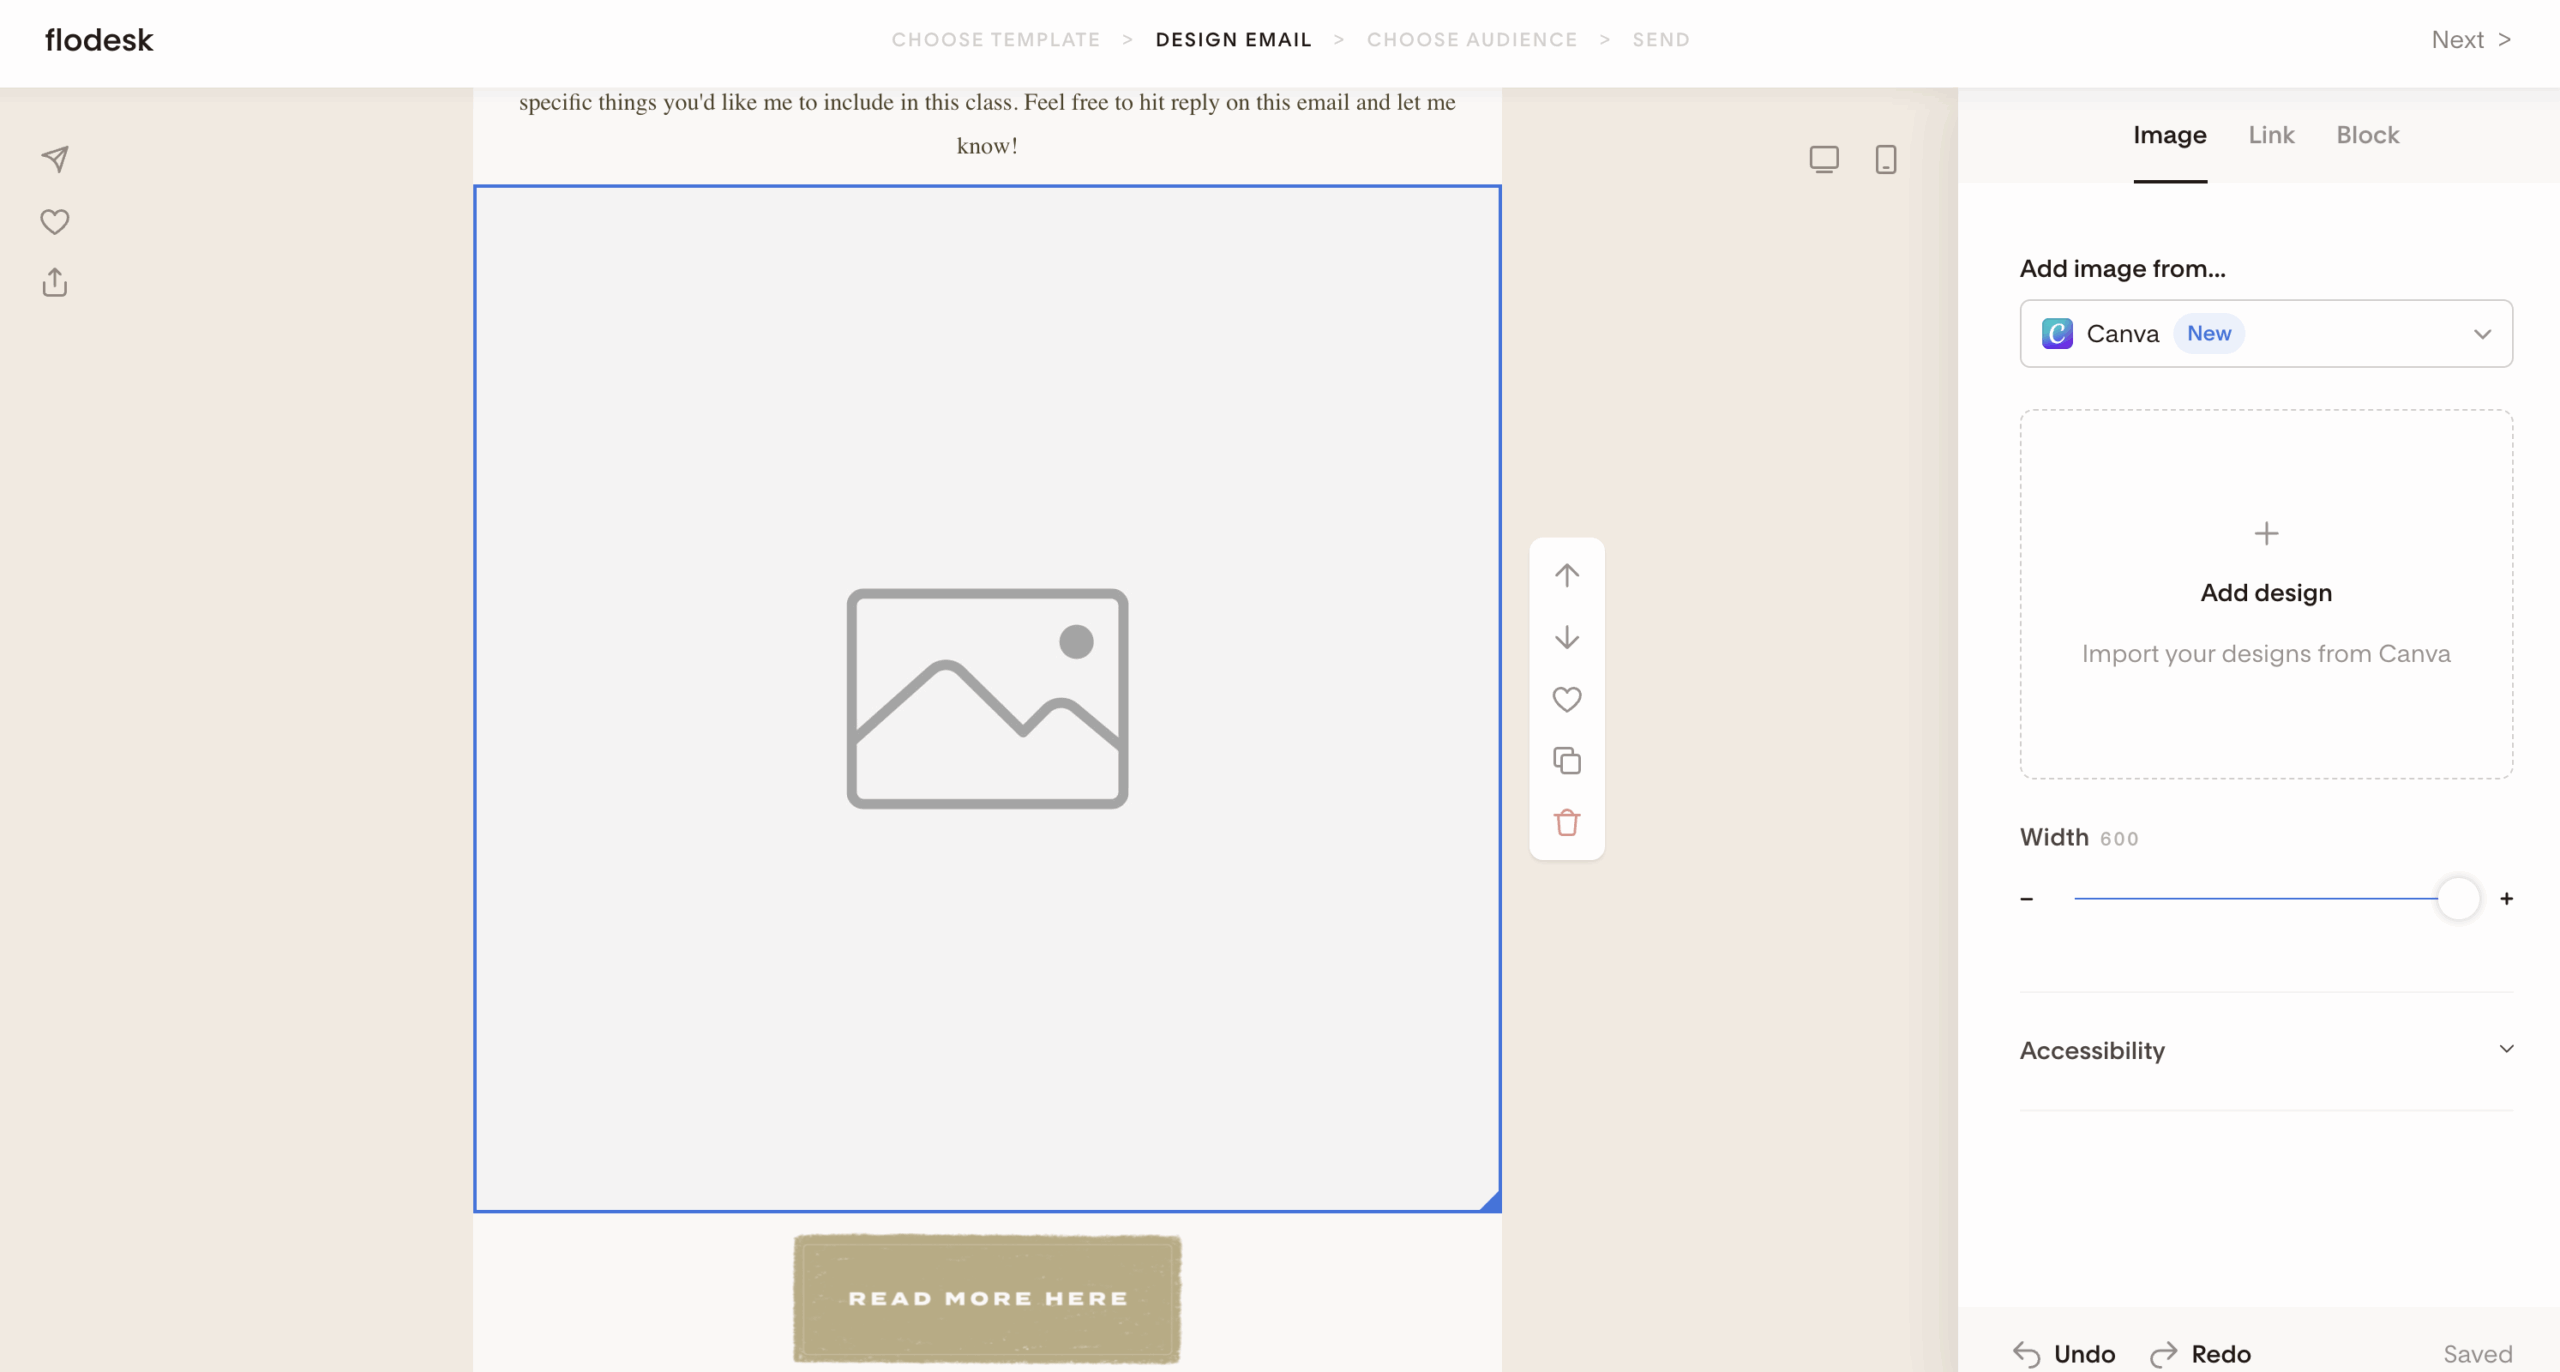
- Add an image block to your email
- Select “Add image from Canva” and then “Add Design”
- From here you can choose your pre-designed Canva graphic or select “Create new from Canva”
- Jump over to Canva and create a new design that’s 600×100 pixels
- Set your background to match the background color of your email (this makes it blend seamlessly)
- Add a frame or shape for your button
- Customize the fonts, colors, and text to say whatever you want
- Once you’re happy with it, click on “Return to Flodesk” at the top right and this will bring the image right into your email design
- Link it to the URL it should click through to
And that’s it! You now have a completely custom button that matches your brand perfectly! 🥳
Here’s an example of a custom button made in Canva vs. my regular Flodesk email one:
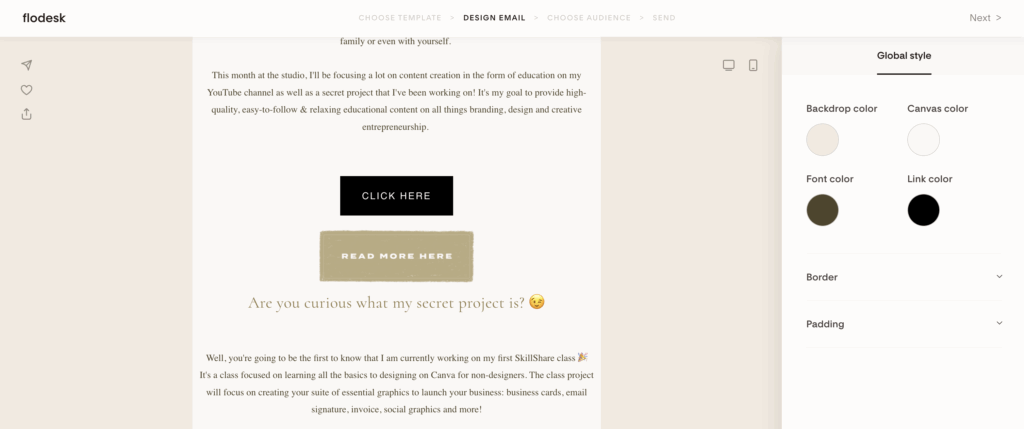
The custom one (on the bottom) looks much more on-brand! 😍
Creating a Divider/Header
The process for creating a custom divider or section header is basically the same as the button, but now you get to add custom copy that matches whatever section you’re introducing.
Here’s how to do it:
- Add an image block where you want your divider or header
- Select “Add image from Canva” and then “Add Design”
- Select “Create new from Canva”
- Create a new design in Canva (I like to use 600×100 for headers, but adjust the height based on what you need)
- Match your background to your email background
- Add your text, shapes, or design elements
- Customize the copy depending on what section you’re introducing (ex, “What’s New This Month” or “Featured Products” or whatever fits your content)
- Once you’re happy with it, click on “Return to Flodesk” at the top right and this will bring the image right into your email design
This is perfect when you want section breaks that feel more intentional than just plain text, and it keeps everything looking cohesive with your brand.
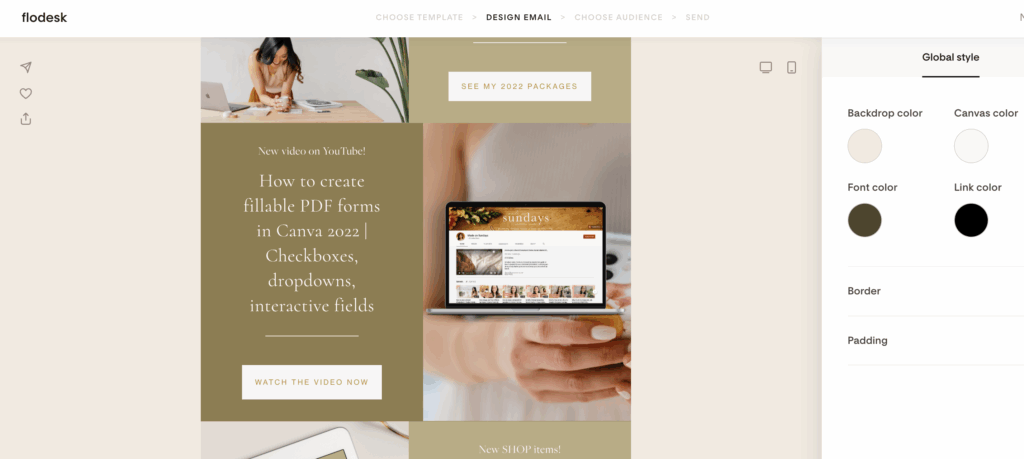
Here’s an example of a custom “Weekly Favourites” header I created:
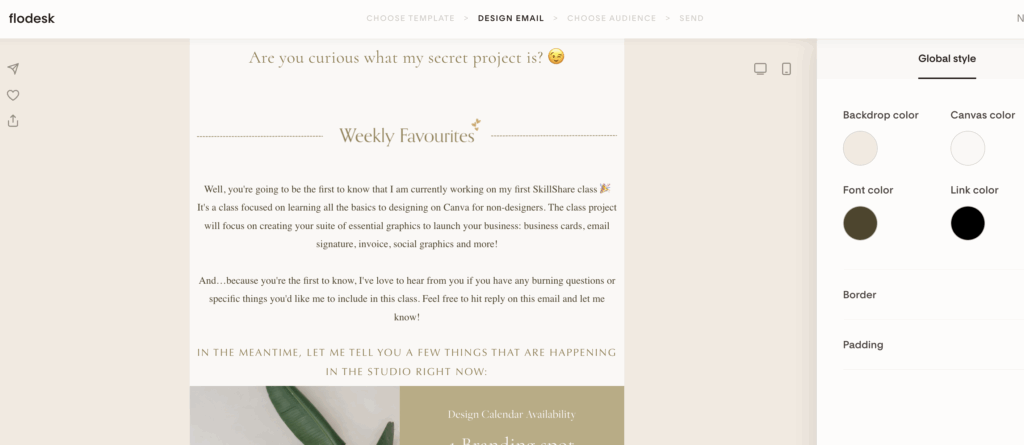
You have SO much creative freedom with this feature! 🎨
Creating a Mockup
Mockups are amazing for showcasing your work, products, or even blog posts in a more polished way.
Here’s the process:
- Add an image block to your email
- Select “Add image from Canva” and then “Add Design”
- Select “Create new from Canva”
- In Canva, search for “mockup” in the elements section and browse through all the options
- Pick one that fits what you’re trying to showcase
- Add your photo to the mockup (could be a screenshot of a blog post, your latest tutorial, a product photo, whatever)
- Click on “Return to Flodesk” at the top right.
You can use mockups for practically anything, such as blog posts, tutorials, digital products, physical products, or even just to make regular photos look more professional.
Here’s a mockup I created:
The Result? Stunning Email Marketing Designs That Look On-Brand!
When you connect Canva and Flodesk with this handy integration, you can send emails that look unique to your brand and match your website, Instagram posts, and other marketing materials. I love this new feature for small business owners and creatives because it saves SO much time when creating designs.
Flodesk Made: Design & Launch Your Email Marketing System
If you want to go deeper than this tutorial, I have a course where we build your entire 4-part email marketing system from scratch. In Flodesk Made: Design & Launch Your Email Marketing System, we cover creating:
- Opt-in forms
- Lead magnet delivery
- Welcome sequences
- Branded newsletter templates
Don’t forget to use my referral link to get 25% off your first year of Flodesk , and start learning with Flodesk Made: Design & Launch Your Email Marketing System!

Hey there!
I'm cheryl, the one behind this blog!
I'm a designer, brand expert, YouTuber, and avid traveler from Vancouver, Canada.
I quit my fancy corporate 9-5 a couple of years ago, hopped onto a plane and started Made on Sundays along with my new mindful lifestyle in Amsterdam.
Today I serve thousands of female entrepreneurs around the world, helping them clarify their brand story, design the brand of their dreams, and confidently show up to their soulmate clients.


