


Note: I use affiliate links in this post. If you click and purchase, I may receive a small commission at no extra cost to you!
Scrolling video graphics are a great way to share your work on social media with your followers and potential clients. They’re not only fun and playful, but also professional and showcase your branding, website or work you’ve done for a client.
The best part? No design experience needed! Just like everything else in Canva, you can easily create stunning branded graphics by dragging and dropping your design elements. Check out my other blog post to learn How to Set-up your Brand Kit with the Canva Pro account.
How to Create a Scrolling Video Graphic
If you’re not planning on using any branded elements in your scrolling video graphic, a free Canva account will work just fine. Generally, I always recommend getting a Canva Pro account as it allows you to choose from a much bigger selection of graphics and upload your unique brand kit so you can use your fonts and colors with just one click.
In this post, I’ll be showing you the exact steps you need to take to create a scrolling video graphic. Below you’ll find a step-by-step guide, but if you’re more of a visual learner, watch this video as I walk you through step-by-step.
1. Film the video
First off, you’ll have to think about what you want to take a video of. This could be you scrolling through your website on your computer, tablet or phone, or something you’ve created for a client like a blog post.
How to film a scrolling video graphic on your desktop
To record on your desktop, you’ll need QuickTime Player, which is free and comes with your Mac. Once you’ve opened the program, navigate to “File” at the top of your screen and select “New Screen Recording”.
Next, a window will pop up at the bottom of your screen, offering different recording options. Click “Record entire screen” and hit “record” to get started. Make sure you have your selected page pulled up before you start recording, so you don’t have to edit the video when you’re done. You can choose to record either with or without audio, but Canva will play the video muted anyway.
Slowly scroll through your page and click on the Stop button at the very top of your screen (located next to your battery and bluetooth symbol) when you’re done.
Save the video and you’re done!
How to film a scrolling video graphic on your phone
If you have an iPhone X or later, swipe down from the top-right corner of your screen and select the round recording icon on the bottom left of your screen to start recording. When you’re done, simply swipe down again and hit the recording button to stop.
When you’re happy with the video, send and save it to your computer so you can upload it to your Canva account.
2. Upload to Canva
Now that you’ve recorded your video, navigate back to Canva and select “Uploads” in the left menu and drag your video into your uploads. Voila!
3. Create a design
When you’re ready to start creating your video graphic, click on “Create a design” in Canva’s main menu and choose the dimensions for whichever platform you’re creating for (Instagram story, post, Facebook post, etc.).
The easiest way to showcase your scrolling website is with a computer or phone image. Either navigate to “Elements” or “Photos” on the left and search for a computer screen or phone with a blank screen, so you can later add in your scrolling video.
In order for you to upload your video to look like it’s scrolling on the computer screen graphic, you’ll need to first add a placeholder image (first option from the “Elements” category under “Grid”).
Once this is in place, go back to your “Uploads” and choose the video you just created. Drag it into the placeholder image and you’re done!
4. Save your work
Now that you’re done creating your beautiful scrolling graphic, click “Download” at the top right corner of your screen.
If you’ve created several graphics within one design, it will download all of them into one file – which we don’t want. Make sure to download each page separately.
Do you Need a Little More Help with Designing on Canva?
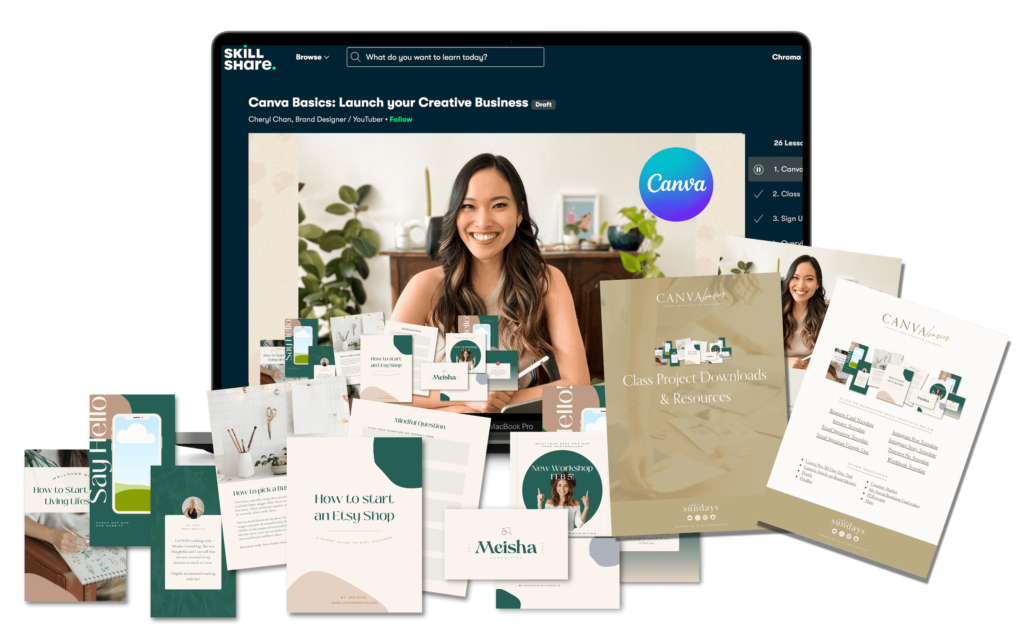
If you’re just starting out your business and you’re brand new to entrepreneurship, I have the perfect resource for you. In my latest SkillShare class, Canva Basics: Launch your Creative Business, I’ll teach you everything you need to know to design for your own business like a pro. It’s a comprehensive design class for non-designers, helping you finally launch your business with beautiful, professional and cohesive graphics (they won’t even know you designed it yourself).
Best part? I’ll be including a TON of Canva Templates including the one you see in the Design a Workbook video above when you join the class.
Oh, and did I mention? You can take the class completely with my 30-day SkillShare Trial here.

Hey there!
I'm cheryl, the one behind this blog!
I'm a designer, brand expert, YouTuber, and avid traveler from Vancouver, Canada.
I quit my fancy corporate 9-5 a couple of years ago, hopped onto a plane and started Made on Sundays along with my new mindful lifestyle in Amsterdam.
Today I serve thousands of female entrepreneurs around the world, helping them clarify their brand story, design the brand of their dreams, and confidently show up to their soulmate clients.


