


If you’ve created graphics in Canva before, you might have found them to look crisp and beautiful within Canva, but blurry as soon as you export and upload them to social media. So frustrating! I feel you.
Being a brand designer, I have a few tips and tricks so your graphics turn out clear every time!
Below I’ll walk you through it step-by-step, but if you’re more of a visual learner then watch this video:
1. Get the dimensions right
First things first: In order for you to create beautiful and crisp images, you’ll need to make sure your dimensions are right for the platform you’re using. Canva has lots of templates with the right sizes for any of your social media needs, so if you select one of them you should be good to go!
For example, the ideal size for an Instagram graphic is 1080 x 1080 px. If you’re still not sure, head to Instagram or Facebook (or whichever platform you’d like to use) and search the ideal dimensions to make sure you use the latest dimensions for each social media platform – they sometimes change with time.
You can always double check the dimensions by clicking on “File” when you’re editing your image in the top left menu.
2. Use high-definition photos
This next tip might be obvious, but I wanted to mention it again: use high-definition photos in your graphic to ensure the best possible quality when exporting.
Whether you’re using your own images or downloading some stock photos, make sure they are always the highest definition available. This will make a huge difference in how clear your images will come out.
3. Save images in the correct file format
To download your photos in the correct file format, click “Download” at the top right once you’re done creating your graphic and always, ALWAYS choose PNG. JPEG is a smaller file format and tends to end up being blurry.
4. Download photos 2x the size
There are two options to go about this.
If you have a Pro account, you’ll find a size slider in the same “Download” menu where you choose your file type. Drag the size slider to increase your image size by either 1.5 or 2. I usually choose double the size – this will give you a larger file but ensures that all your photos will upload crisp and clear.
If you have a free account, you can simply create a custom graphic with bigger dimensions. For example: If your regular Instagram post is 1080 x 1080 px, you would create a file that is 2160 x 2160 px.
There you have it! From now on, all your graphics should upload crisp and clear!
Watch this video as I show you what you need to look out for step-by-step to never create blurry images again. Hit play!
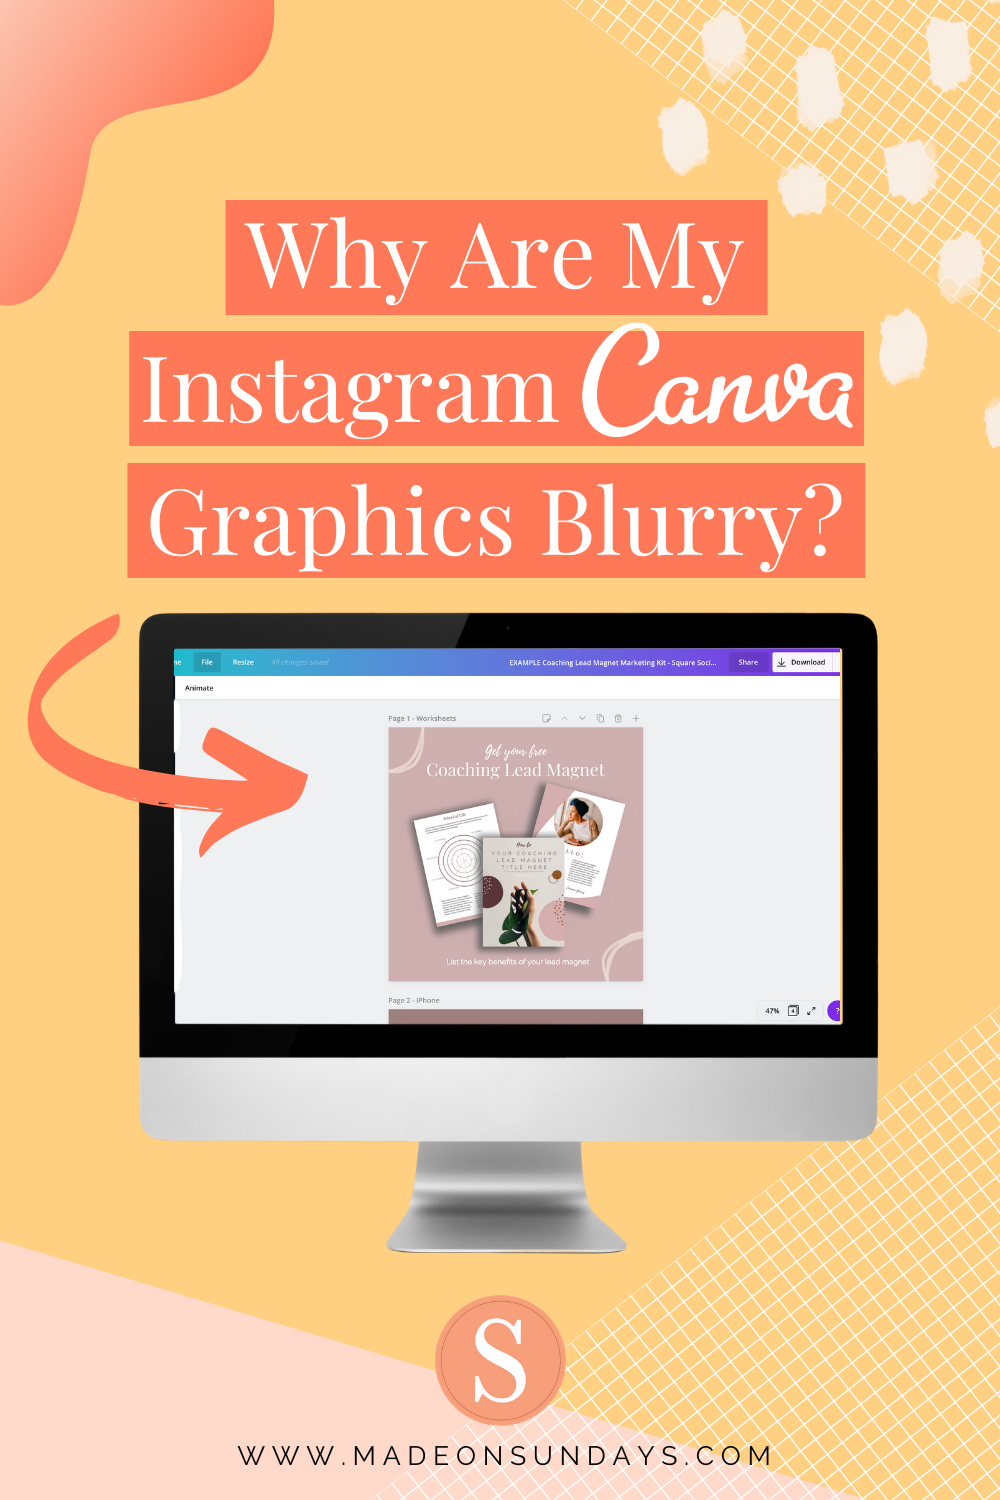
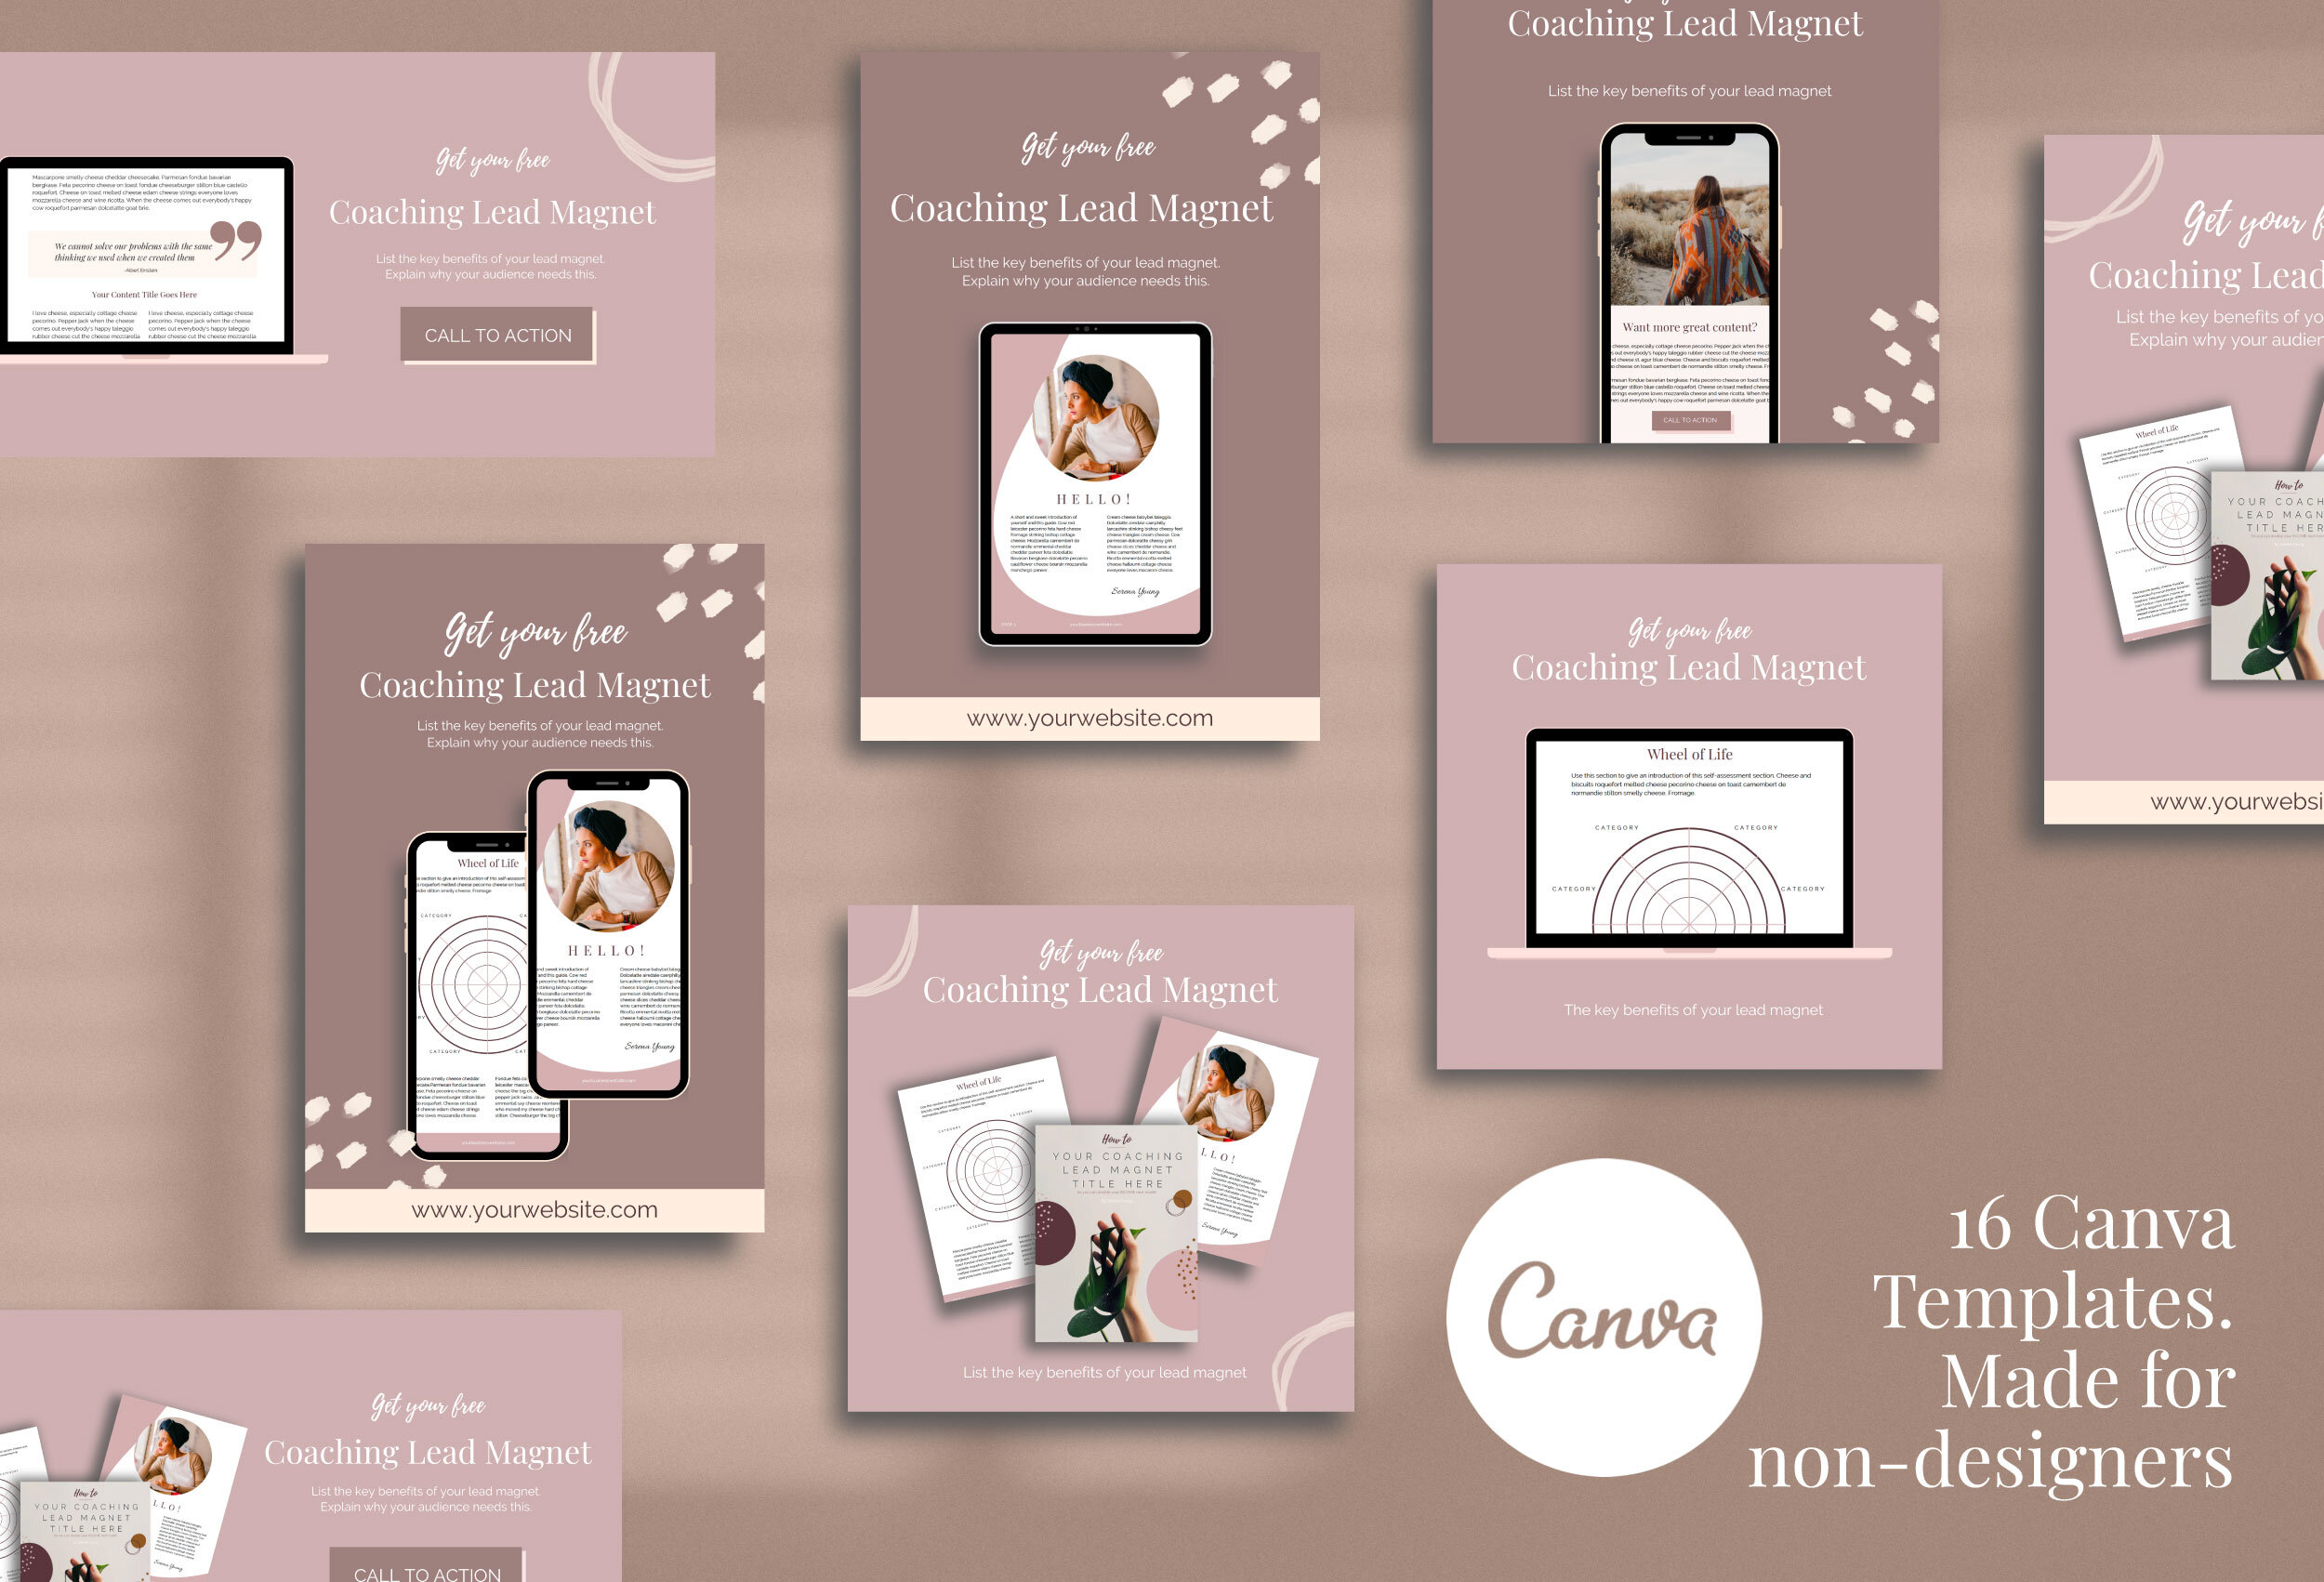
CHECK OUT THE SOCIAL MEDIA TEMPLATE USED IN THIS VIDEO ▼
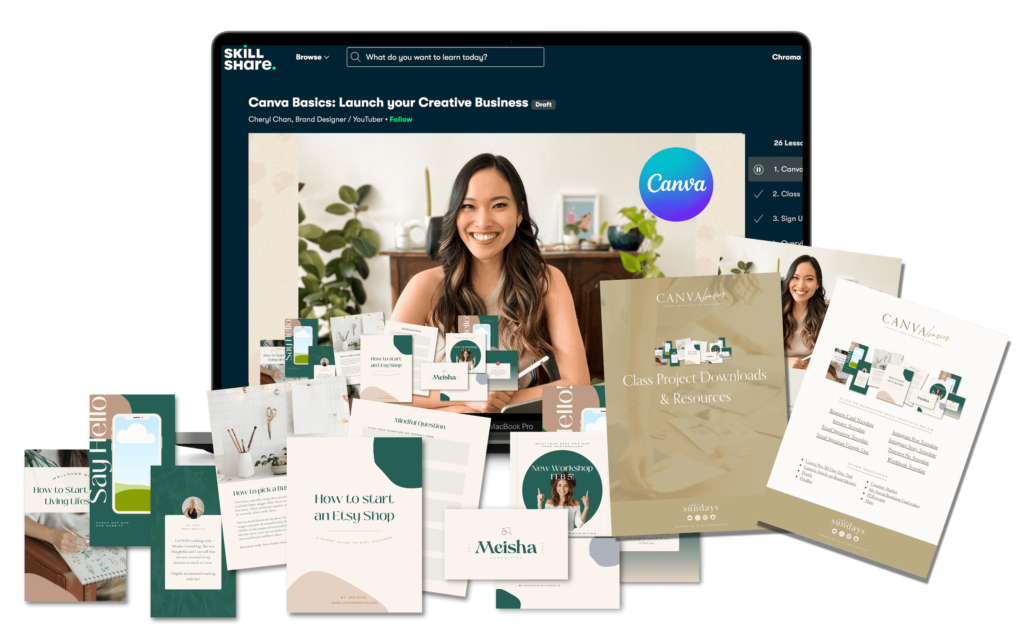
Need a Little More Help with Designing on Canva?
If you’re just starting out your business and you’re brand new to entrepreneurship, I have the perfect resource for you. In my latest SkillShare class, Canva Basics: Launch your Creative Business, I’ll teach you everything you need to know to design for your own business like a pro. It’s a comprehensive design class for non-designers, helping you finally launch your business with beautiful, professional and cohesive graphics (they won’t even know you designed it yourself).
Best part? I’ll be including a TON of Canva Templates including the one you see in the Design a Workbook video above when you join the class.
Oh, and did I mention? You can take the class completely free with my 30-day SkillShare Trial here.

Hey there!
I'm cheryl, the one behind this blog!
I'm a designer, brand expert, YouTuber, and avid traveler from Vancouver, Canada.
I quit my fancy corporate 9-5 a couple of years ago, hopped onto a plane and started Made on Sundays along with my new mindful lifestyle in Amsterdam.
Today I serve thousands of female entrepreneurs around the world, helping them clarify their brand story, design the brand of their dreams, and confidently show up to their soulmate clients.


