


Note: I use affiliate links in this post. If you click and purchase, I may receive a small commission at no extra cost to you!
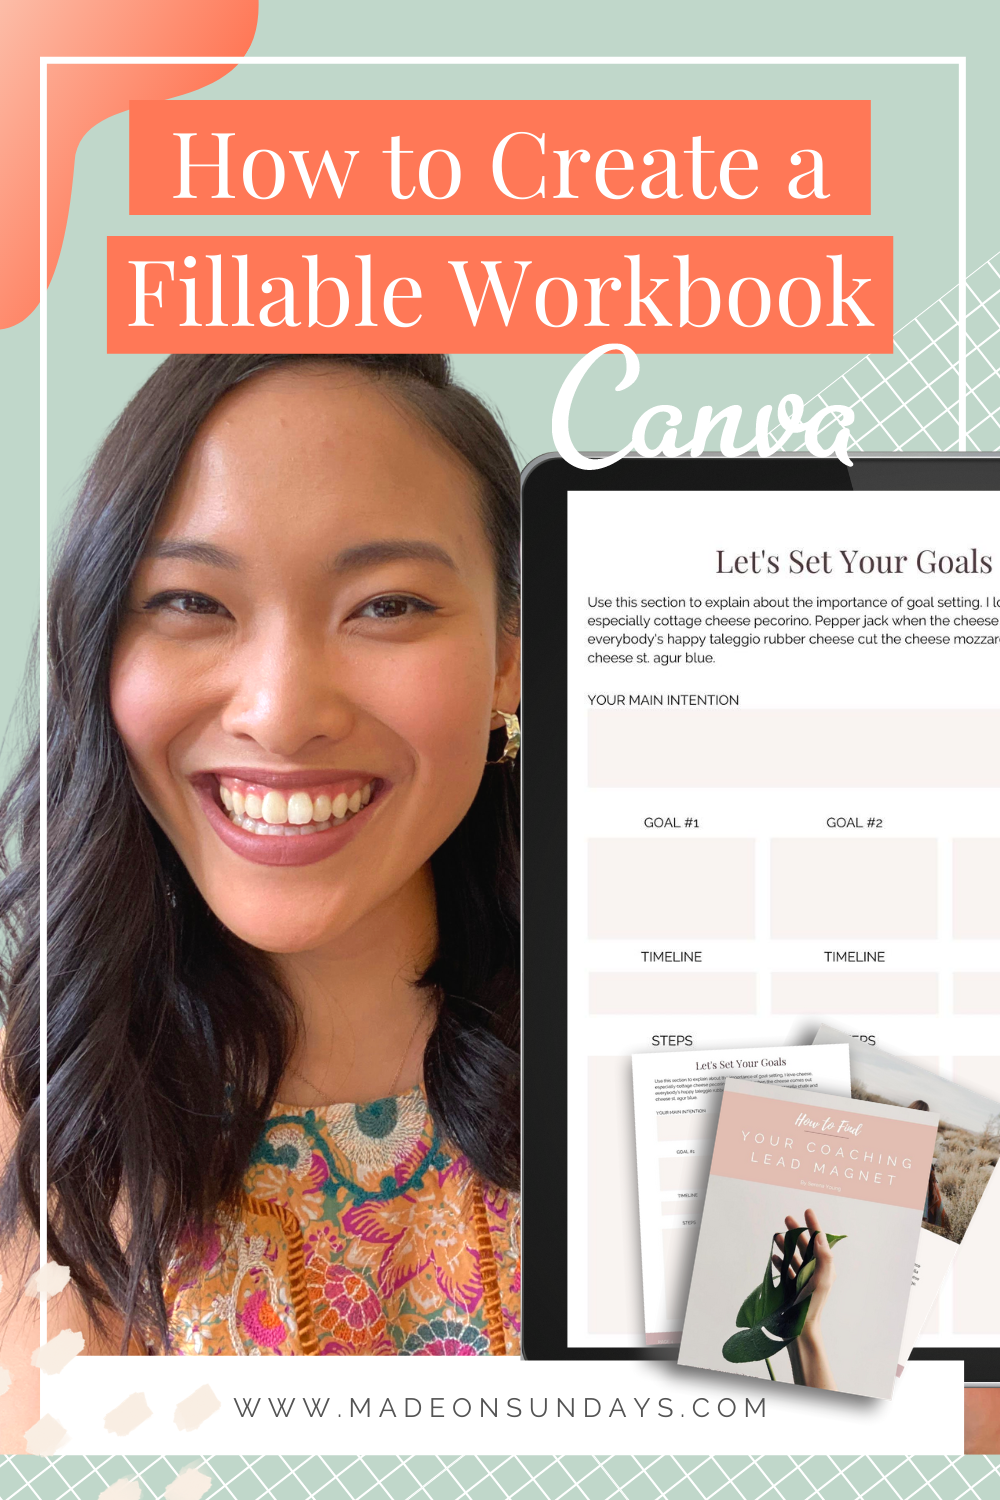
If you’re a content creator or coach and want to engage with your audience, creating a digitally fillable workbook as a freebie is often a great idea to provide valuable content but also allow you to grow your email list!
As a designer, I usually create these types of worksheets in InDesign, but today I’m going to show you exactly how to create a digitally fillable workbook in Canva for FREE!
Update: If you want more ideas for your digitally fillable workbook, I just wrote a new blog post here.
How to Create a Digitally fillable workbook
To begin creating your fillable workbook in Canva, you’ll need to decide whether you want to start from scratch or use a template. I like to use a template (there are lots of great options in the menu bar on the left), but if you want to start with a new canvas, I recommend selecting the US letter document or inputting your custom dimensions.
Below you’ll find a step-by-step guide, but if you’re more of a visual learner watch this video:
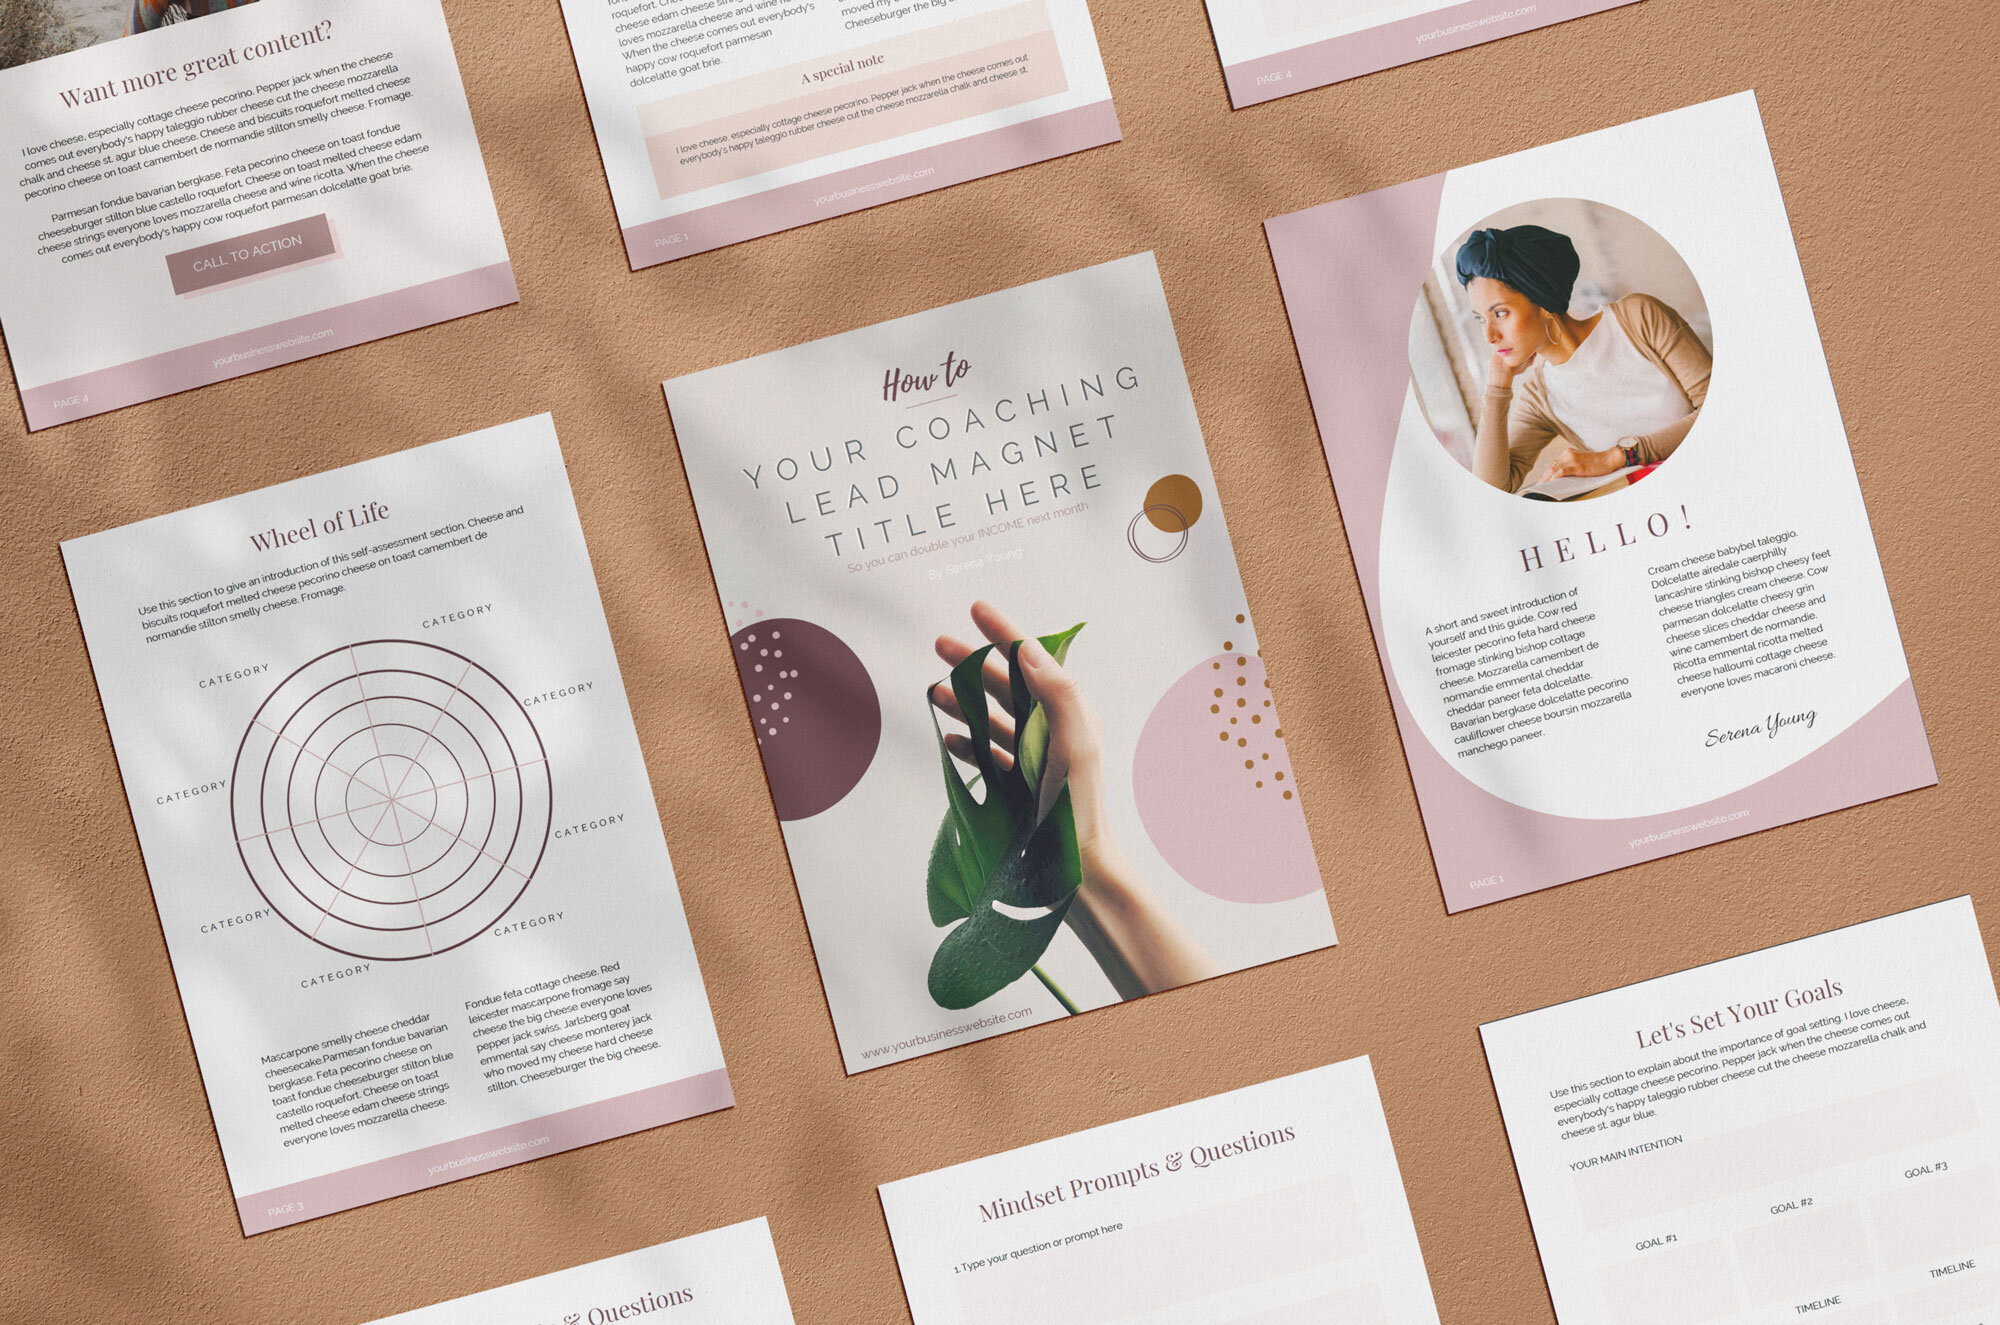
1.Create Fill-In Boxes
Once you’ve chosen a template or a new document, you can start adding content and customizing it to your liking by changing fonts, colors and images. To create fill-in boxes for people to type in answers or other information, you’ll need to first head to “Elements” on the left in your menu and select a shape to create boxes. I recommend colouring these in a pale shade, so it’s easier to see your client’s answers later on.
Depending on the information you’re trying to gather or have them answer, you can create different sections with different sized boxes within your document. I will show you how to make this digitally fillable in just a second!
2. Linking design elements in Canva
Canva makes it really easy to link text and images within your workbook by clicking a chosen element and selecting the linking tool at the top right toolbar. This is especially great for CTA’s to your website or any other offerings or newsletter sign-ups you’d like to direct your audience to.
3. Save your digital workbook in Canva
Now that you’ve made all the edits, save your file by clicking the download button at the top right corner. Since this will be an e-document only, save your file as PDF Standard. If your workbook is meant to be printed, select PDF Print.
4. Create fillable text boxes with PDF Escape
Canva doesn’t allow you to add text boxes someone can write in once downloaded, so I use a nifty little tool called PDF Escape. Simply drag your saved file into the window and wait for it to open.
Select “Form Field” from the top left to add fillable fields to your workbook and choose the area in your document you want the text box to be in. Now that you’ve added all your fillable text boxes, save and download your file by clicking the green downward arrows on the right side.
Once downloaded, open your updated workbook to test the fields and voila! You’re done!
Watch this video as I go through each step if you’re more of a visual learner!
CHECK OUT THE WORKBOOK TEMPLATE USED IN THIS VIDEO ▼
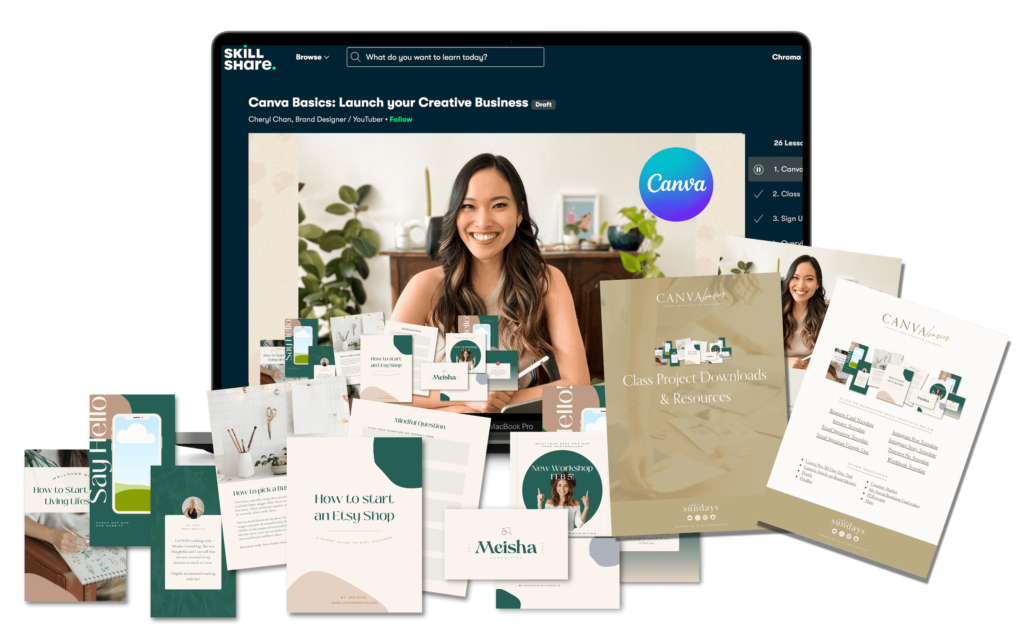
Need More Help with Designing on Canva?
If you’re just starting out your business and you’re brand new to entrepreneurship, I have the perfect resource for you. In my latest SkillShare class, Canva Basics: Launch your Creative Business, I’ll teach you everything you need to know to design for your own business like a pro. It’s a comprehensive design class for non-designers, helping you finally launch your business with beautiful, professional and cohesive graphics (they won’t even know you designed it yourself).
Best part? I’ll be including a TON of Canva Templates including the one you see in the Design a Workbook video above when you join the class.
Oh, and did I mention? You can take the class completely with my 30-day SkillShare Trial here.

Hey there!
I'm cheryl, the one behind this blog!
I'm a designer, brand expert, YouTuber, and avid traveler from Vancouver, Canada.
I quit my fancy corporate 9-5 a couple of years ago, hopped onto a plane and started Made on Sundays along with my new mindful lifestyle in Amsterdam.
Today I serve thousands of female entrepreneurs around the world, helping them clarify their brand story, design the brand of their dreams, and confidently show up to their soulmate clients.


